How To: Turn Your Live Photo into a Facebook Profile Video
Changing your Facebook profile picture to a video is a great way to stand out from the crowd. A regular video file isn't the only option, though — if you're an iPhone user, you can also upload a Live Photo as your new profile picture to add more pizzazz to your Facebook page.Unfortunately, you can't just snap a Live Photo and post it as your new FB pic right away — you first need to convert your Live Photo into a Facebook-compatible file. So below, I'll show you three different methods to turn your Live Photo into a video, then once you've got that sorted out, I'll show you how to upload the converted video to use it as an animated Facebook profile pic.Don't Miss: How to Set Video Profile Picctures on Facebook Using Any PhoneBefore going over the different ways to convert a Live Photo into a Facebook-friendly profile video, you might want to edit your Live Photo first, if necessary. There's plenty of features you can use to accentuate your Live Photos, from adding filters, tweaking adjustments, cropping, and rotating. If that weren't enough, you can go a step beyond and pick new thumbnails, trim the clip, or make them loop or bounce.Since a Facebook profile video already loops, however, using a looping or bouncing Live Photo may be unnecessary. And you can trim clips, crop them, and choose a thumbnail image in Facebook before setting them as your profile video, so you don't have to worry about that too much beforehand.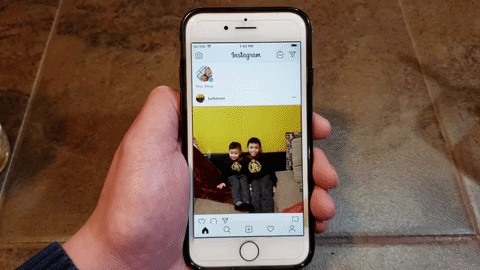
Method 1: Convert Your Live Photo with InstagramA really easy way, though not without losing some image quality, is to convert your Live Photo into a Boomerang within Instagram Stories. So, If you don't already have Instagram, be sure to download the app to try this method out.App Store Link: Instagram (free) Once signed up and in Instagram, tap your profile icon at the top of the main page to access Stories, then swipe up to see your Story feed. If you have taken your Live Photo within the last 24 hours, then you should see it there. Tap on the Live Photo you want to use to edit in Stories. Image by Amboy Manalo/Gadget Hacks From there, turning your Live Photo into a Boomerang is easy, and basically entails long-pressing on the photo to convert it into a Boomerang, and downloading into the Photos app. Of course, we have an in-depth guide on this topic, so feel free to tap on the following link to learn more.Don't Miss: Turn Your Live Photos Into Boomerangs on Instagram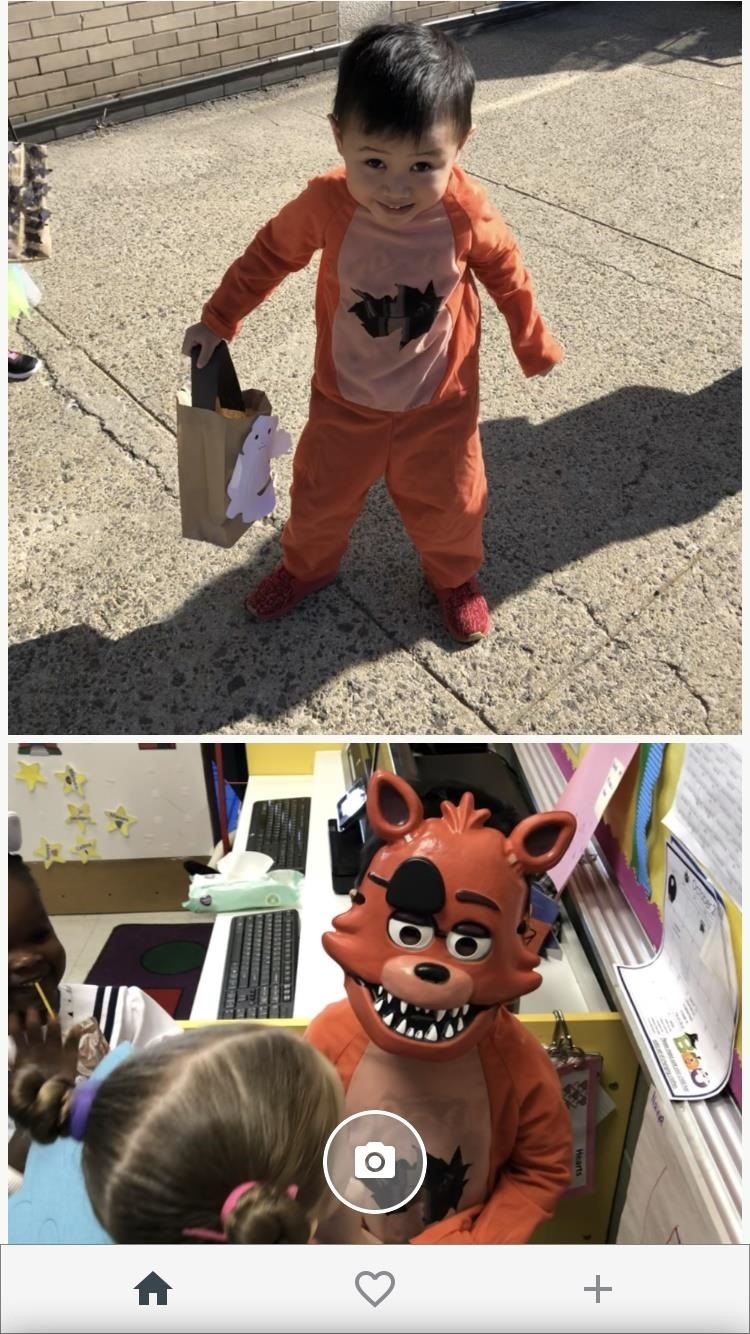
Method 2: Convert Your Live Photo with Motion StillsIf you'd rather preserve your Live Photo in full quality before uploading it as your Facebook profile pic, then I have two more options for you. First up is an app from Google called Motion Stills, which you can download from the App Store for free.App Store Link: Motion Stills (free) All your Live Photos will be shown within Motion Stills' main feed, so tap on the Live Photo you want to convert for Facebook. Your Live Photo will now be shown in constant motion, and the "Motion Stills" icon (two half circles) will be set to reduce shakiness in the video. Tap that icon to remove the effect, which will give you your original Live Photo, shakiness and all. Also, you can choose to set the video as normal (the two triangles icon with the left side in white) or bounce it (with both triangles white). Images by Amboy Manalo/Gadget Hacks Once you've set the Live Photo's effects to your liking, tap on the arrow along the bottom right-hand side of your image, then tap "Share Video" to convert it as a video. When the share sheet opens up, select "Save Video" to save it to the Photos app. Once you've done that, skip ahead to the "Uploading Your Live Photo" section below. Images by Amboy Manalo/Gadget Hacks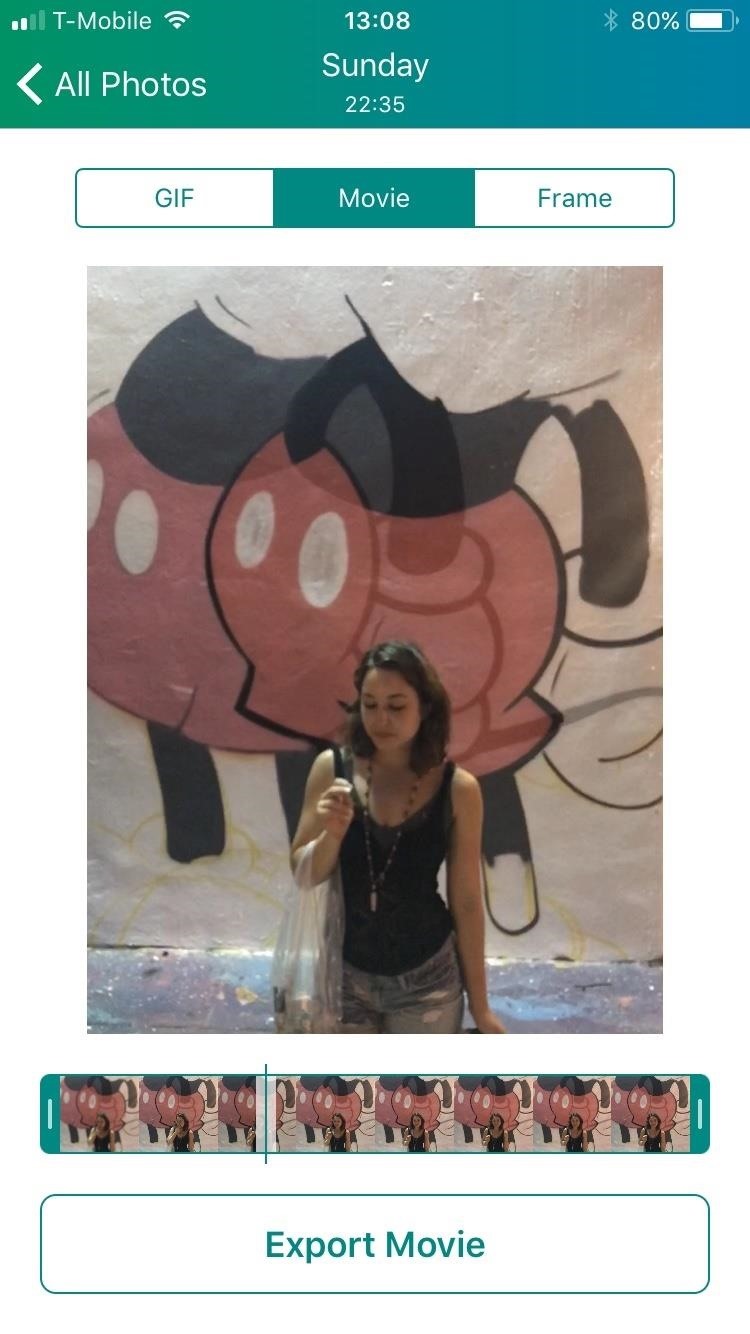
Method 3: Convert Your Live Photo with LivelyIf neither of the first two options worked for you, then an app called Lively is your best bet. You can download the Lively app either by going to the App Store or simply tapping on the link below.App Store Link: Lively (free) Once installed, you'll see all your Live Photos in a homepage feed within the app. Tap on the image that you would like to convert, and your Live Photo will now be shown as a GIF. Tap on "Movie" at the top, and if you want to crop your Live Photo and haven't done so already, Lively will let you do so before saving it as a video. You can also do this later on Facebook, as you'll soon see.When ready, tap on "Export Movie" at the bottom. From here, hit "Save" to add it to your Photos app, then move on to the next section in this article.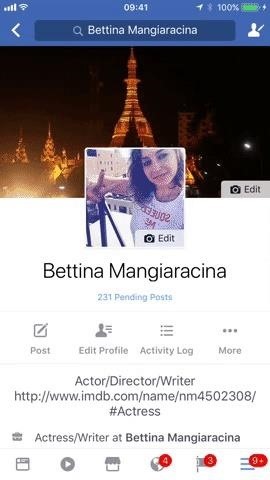
Uploading Your Live Photo as Your Facebook Profile VideoNow that you've converted your Live Photo, open up the Facebook app, then tap on the hamburger icon and hit "View your profile" at the top. Once there, tap on "Edit" at the bottom right of your profile icon, or you can just tap on the profile photo itself, then you'll see a menu of options. Tap on "Select Profile Video."Here, you'll be able to select the video you want to upload from your Camera Roll in Photos. Tap on the new video that you just converted, and you'll be presented with some decent options for it. You can trim the clip, crop it, remove sound, and/or change the thumbnail image. You can also tap on "Make Temporary" to make the profile video last only 1 hour, 1 day, 1 week, or a custom amount of time. When you're satisfied, tap on "Use" to upload it as your new Facebook profile video.Don't Miss: This Boomerang Hack Lets You Post Apple's Live Photos on Instagram Images by Bettina Mangiaracina/Gadget Hacks And that's all there is to it. Your Facebook profile video will now loop endlessly while someone is looking at your profile. Profile videos are public, so keep that in mind when doing this.Uploading a moving image to your Facebook profile picture is a good way to stand out among other accounts. It also hasn't really caught on yet, so this is a good time to get creative with the feature and get ahead of the pack. As always, stay tuned with us as we uncover more Facebook tips and tricks to amp up your profile page.Amboy Manalo contributed to this story.Don't Miss: How to Turn GIFs into Live Photos on Your iPhoneFollow Gadget Hacks on Pinterest, Reddit, Twitter, YouTube, and Flipboard Sign up for Gadget Hacks' daily newsletter or weekly Android and iOS updates Follow WonderHowTo on Facebook, Twitter, Pinterest, and Flipboard
Cover image by Bettina Mangiaracina/Gadget Hacks
How to Get the Bitmoji Keyboard on Android. This wikiHow teaches you how to enable and use the Bitmoji Keyboard on your Android phone. You will need to use Bitmoji in conjunction with the Gboard keyboard in order to do this on most
Android Basics: How to Connect to a Bluetooth Device
Sync Mac with Windows PC SyncMate 4 can easily sync data between your Mac and PC. Personal data, media files, bookmarks, notes and even more will be perfectly synced among computers.
How to Sync Your Contacts Between All Your Devices: iPhone
How to Disable Heads-Up (Pop-Up) Notifications in Android
How to Use Spotify's New Free Mobile Streaming on Your Nexus
Report Ad
Shop Samsung Watches at Macy's. Buy Online, Pick Up In-Store Today!
Background data usage can wrack up quite a bit of MB. The good news is, you can reduce data usage. All you have to do is turn off background data. We'll show you how to restrict background data on your Android phone and cut any lingering data usage. Wrangle your usage and save big. Some people spend as little $20 a month on one phone with Ting.
How to Check Data Usage on AT&T: 8 Steps (with Pictures
How to Hack your electricity meter - Gadget Hacks
Image of Dallas Thomas / Gadget Hacks Step 3: Install the Magisk Manager App . Next you need the Magisk Manager app on your phone to install. In addition to serving as a root administration app to grant or deny superuser permissions to other apps, this app also provides an interface for installing Magisk modules and helps you get your root status on the Google Security Network to hide.
How to Root OnePlus using Magisk - YouTube
To open your Google+ settings, click on the gear icon that is on the far right end of the Google toolbar, then select the "Profile and privacy" menu item in the Google Accounts panel. The Profile and privacy panel contains information about your Google+ privacy settings and buttons that take you to screens that enable you to control your
Basic Privacy Settings & Tools | Facebook Help Center | Facebook
As Star Wars fans have grown up, so have their lightsabers. Forget cheap plastic toys, these sabers are bespoke laser blades that light up, buzz, and are made for Jedi dueling. Still haven't
Lightsaber Fx Sold Direct on eBay | Fantastic Prices on Lightsaber Fx
AD
How to Make a Windows Computer Look Like a Mac. If you're in love the OS X interface, but prefer the customizability of your Windows PC, you can modify your Windows environment to mimic that of Mac OS X.
How to Make Your iOS Device Feel More Like Android (and Vice
Jack Wallen shows you one of the fastest ways to remove unwanted apps on your Samsung Galaxy S4. Pro tip: Quickly uninstall applications from the Samsung Galaxy S4 app drawer and the voice
How To Remove Bloatware from Samsung Galaxy S5 - NaldoTech
0 comments:
Post a Comment