How To: Unlock Nougat's Hidden Nav Bar Tuner to Customize Your Nexus' Buttons
Google has a habit of starting on new projects for Android, then hiding them away if they didn't quite complete them in time for a major release. We saw this with multi-window mode last year (which is now an official Nougat feature), and this year, there was the hidden night mode setting that was easily activated.Don't Miss: How to Activate the Hidden Night Mode on Android NougatGoogle has also started work on a new menu that lets you completely customize the navigation buttons at the bottom of your screen, but hid it from view as well. Luckily, though, developer Al Iraqi found a way to activate the hidden nav bar tuner in Nougat, and all it takes is one flashable ZIP to try it out.
RequirementsNexus 6, Nexus 9, Nexus 5X, or Nexus 6P Android 7.0 Nougat installed custom recovery installed System UI Tuner enabled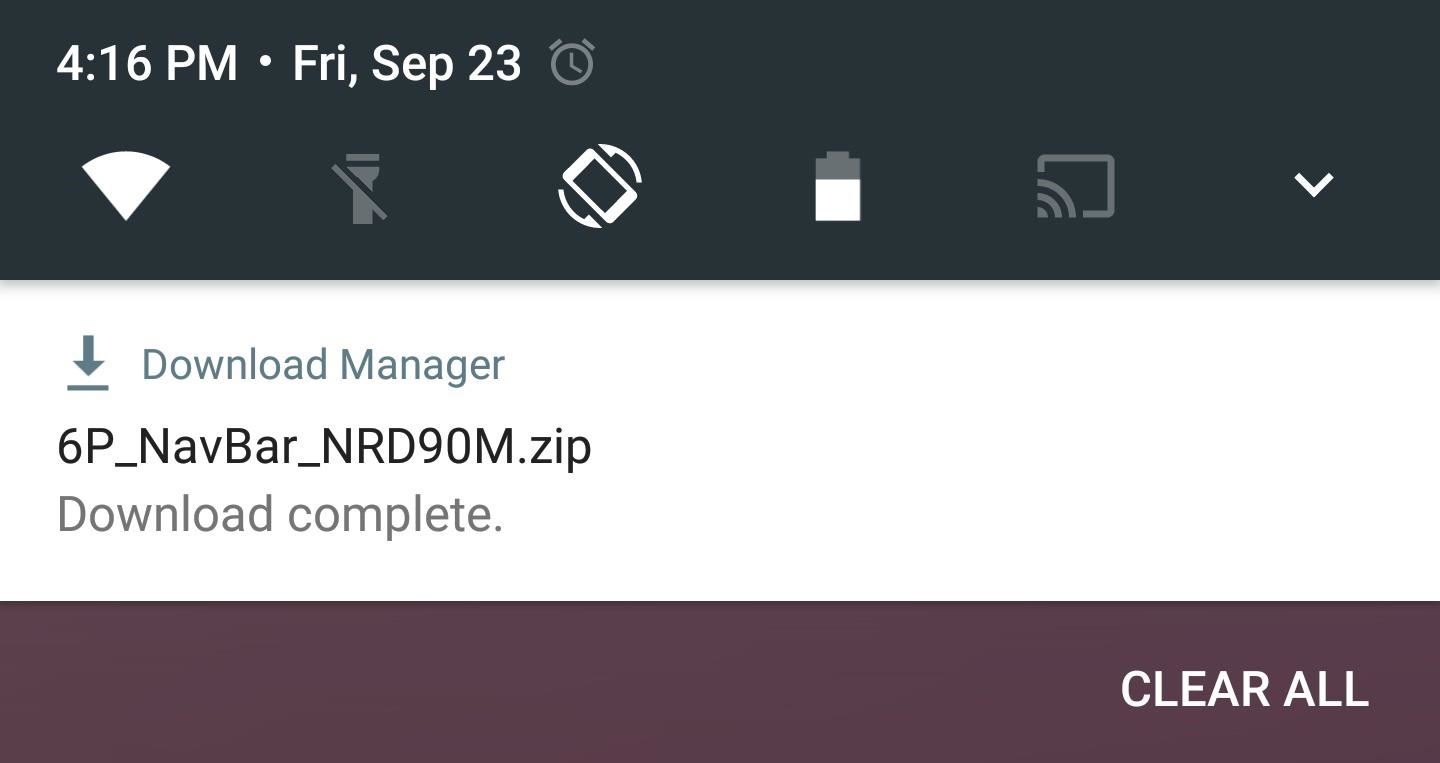
Step 1: Download the Right ZIP for Your DeviceYou'll need to download the flashable ZIP that enables the nav bar tuner on Android Nougat. These ZIPs are made for specific Android build numbers, so make sure to grab the right one for your particular Android version. If you don't know your build number, you can use this guide for help.Nexus 6 Nav Bar Mod (Build Number NRD90M) Nexus 9 Nav Bar Mod (Build Number NRD90M) Nexus 9 Nav Bar Mod (Build Number NRD90U) Nexus 5X Nav Bar Mod (Build Number NRD90S) Nexus 6P Nav Bar Mod (Build Number NRD90M) Nexus 6P Nav Bar Mod (Build Number NRD90T) Note: Future versions of this mod can be downloaded from the developer's thread on XDA if the links above are out of date.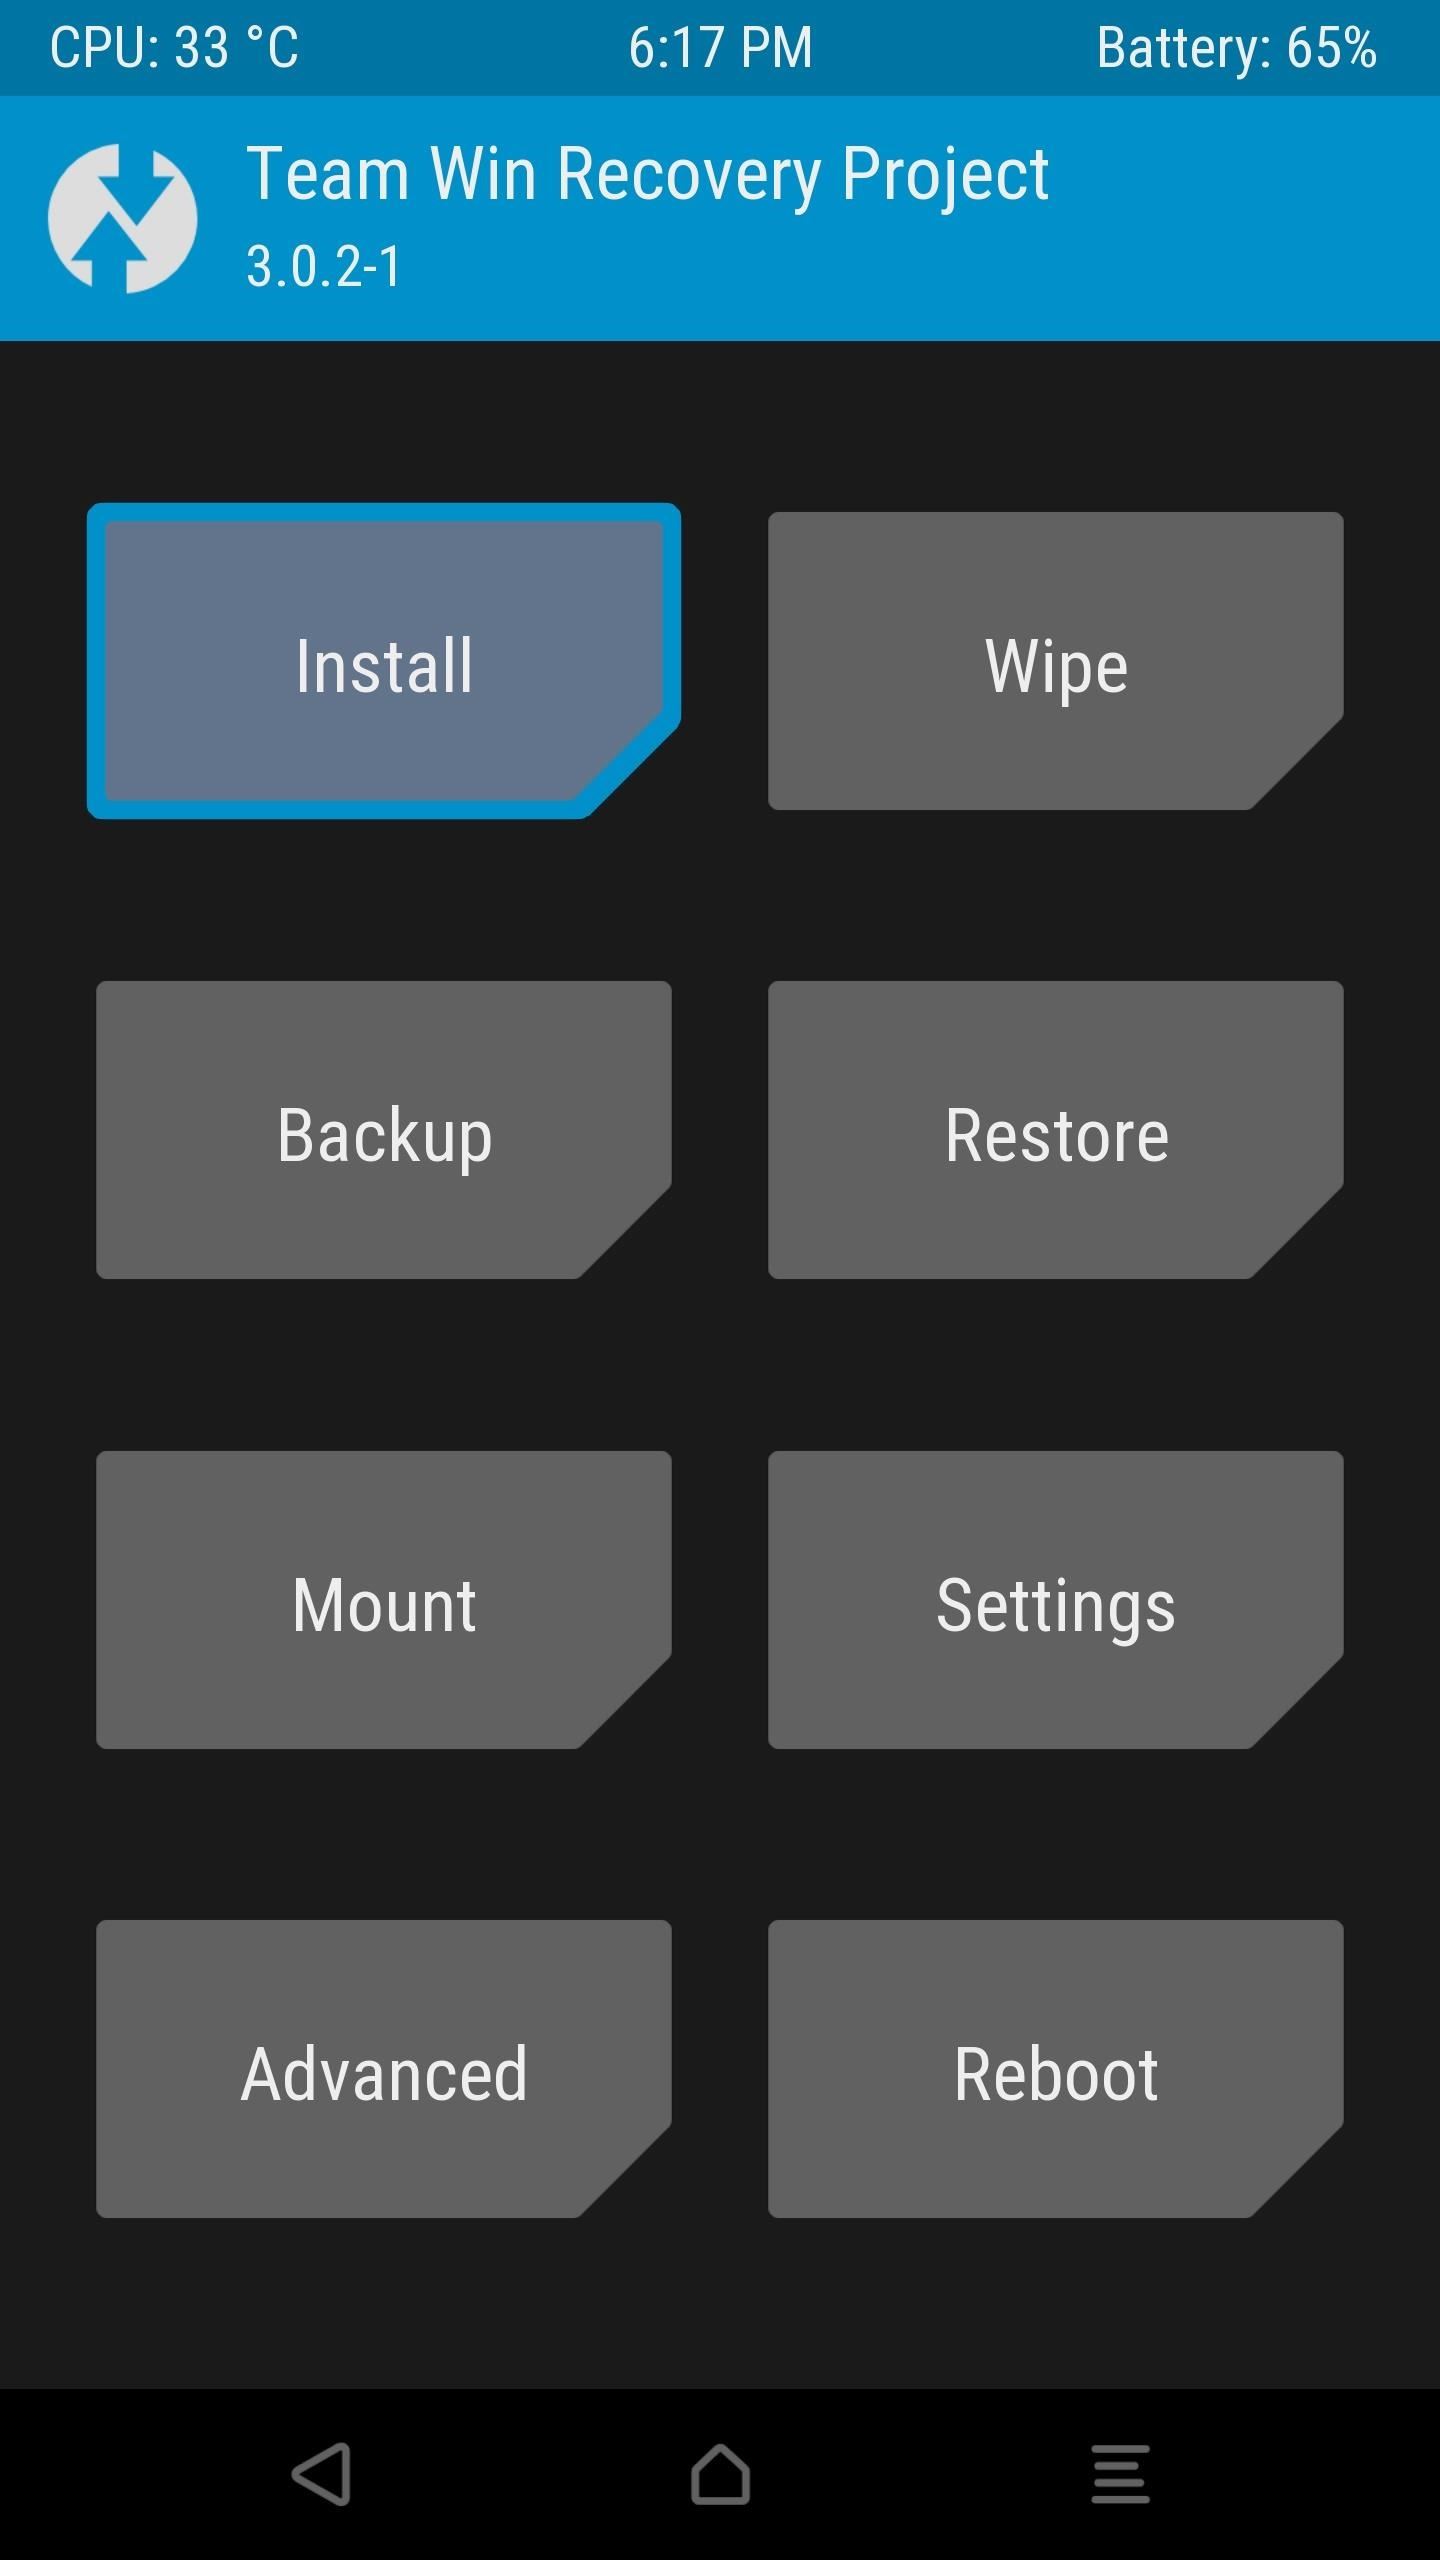
Step 2: Flash the ZIP in Custom RecoveryOnce the ZIP file has finished downloading to your device, go ahead and boot into custom recovery. From here, tap the "Install" button, then navigate to your device's Download folder. Next, select the NavBar_XXXXX.zip file, then swipe the slider at the bottom of the screen to install it. When that's finished, tap "Reboot System," then you'll be ready to try it out.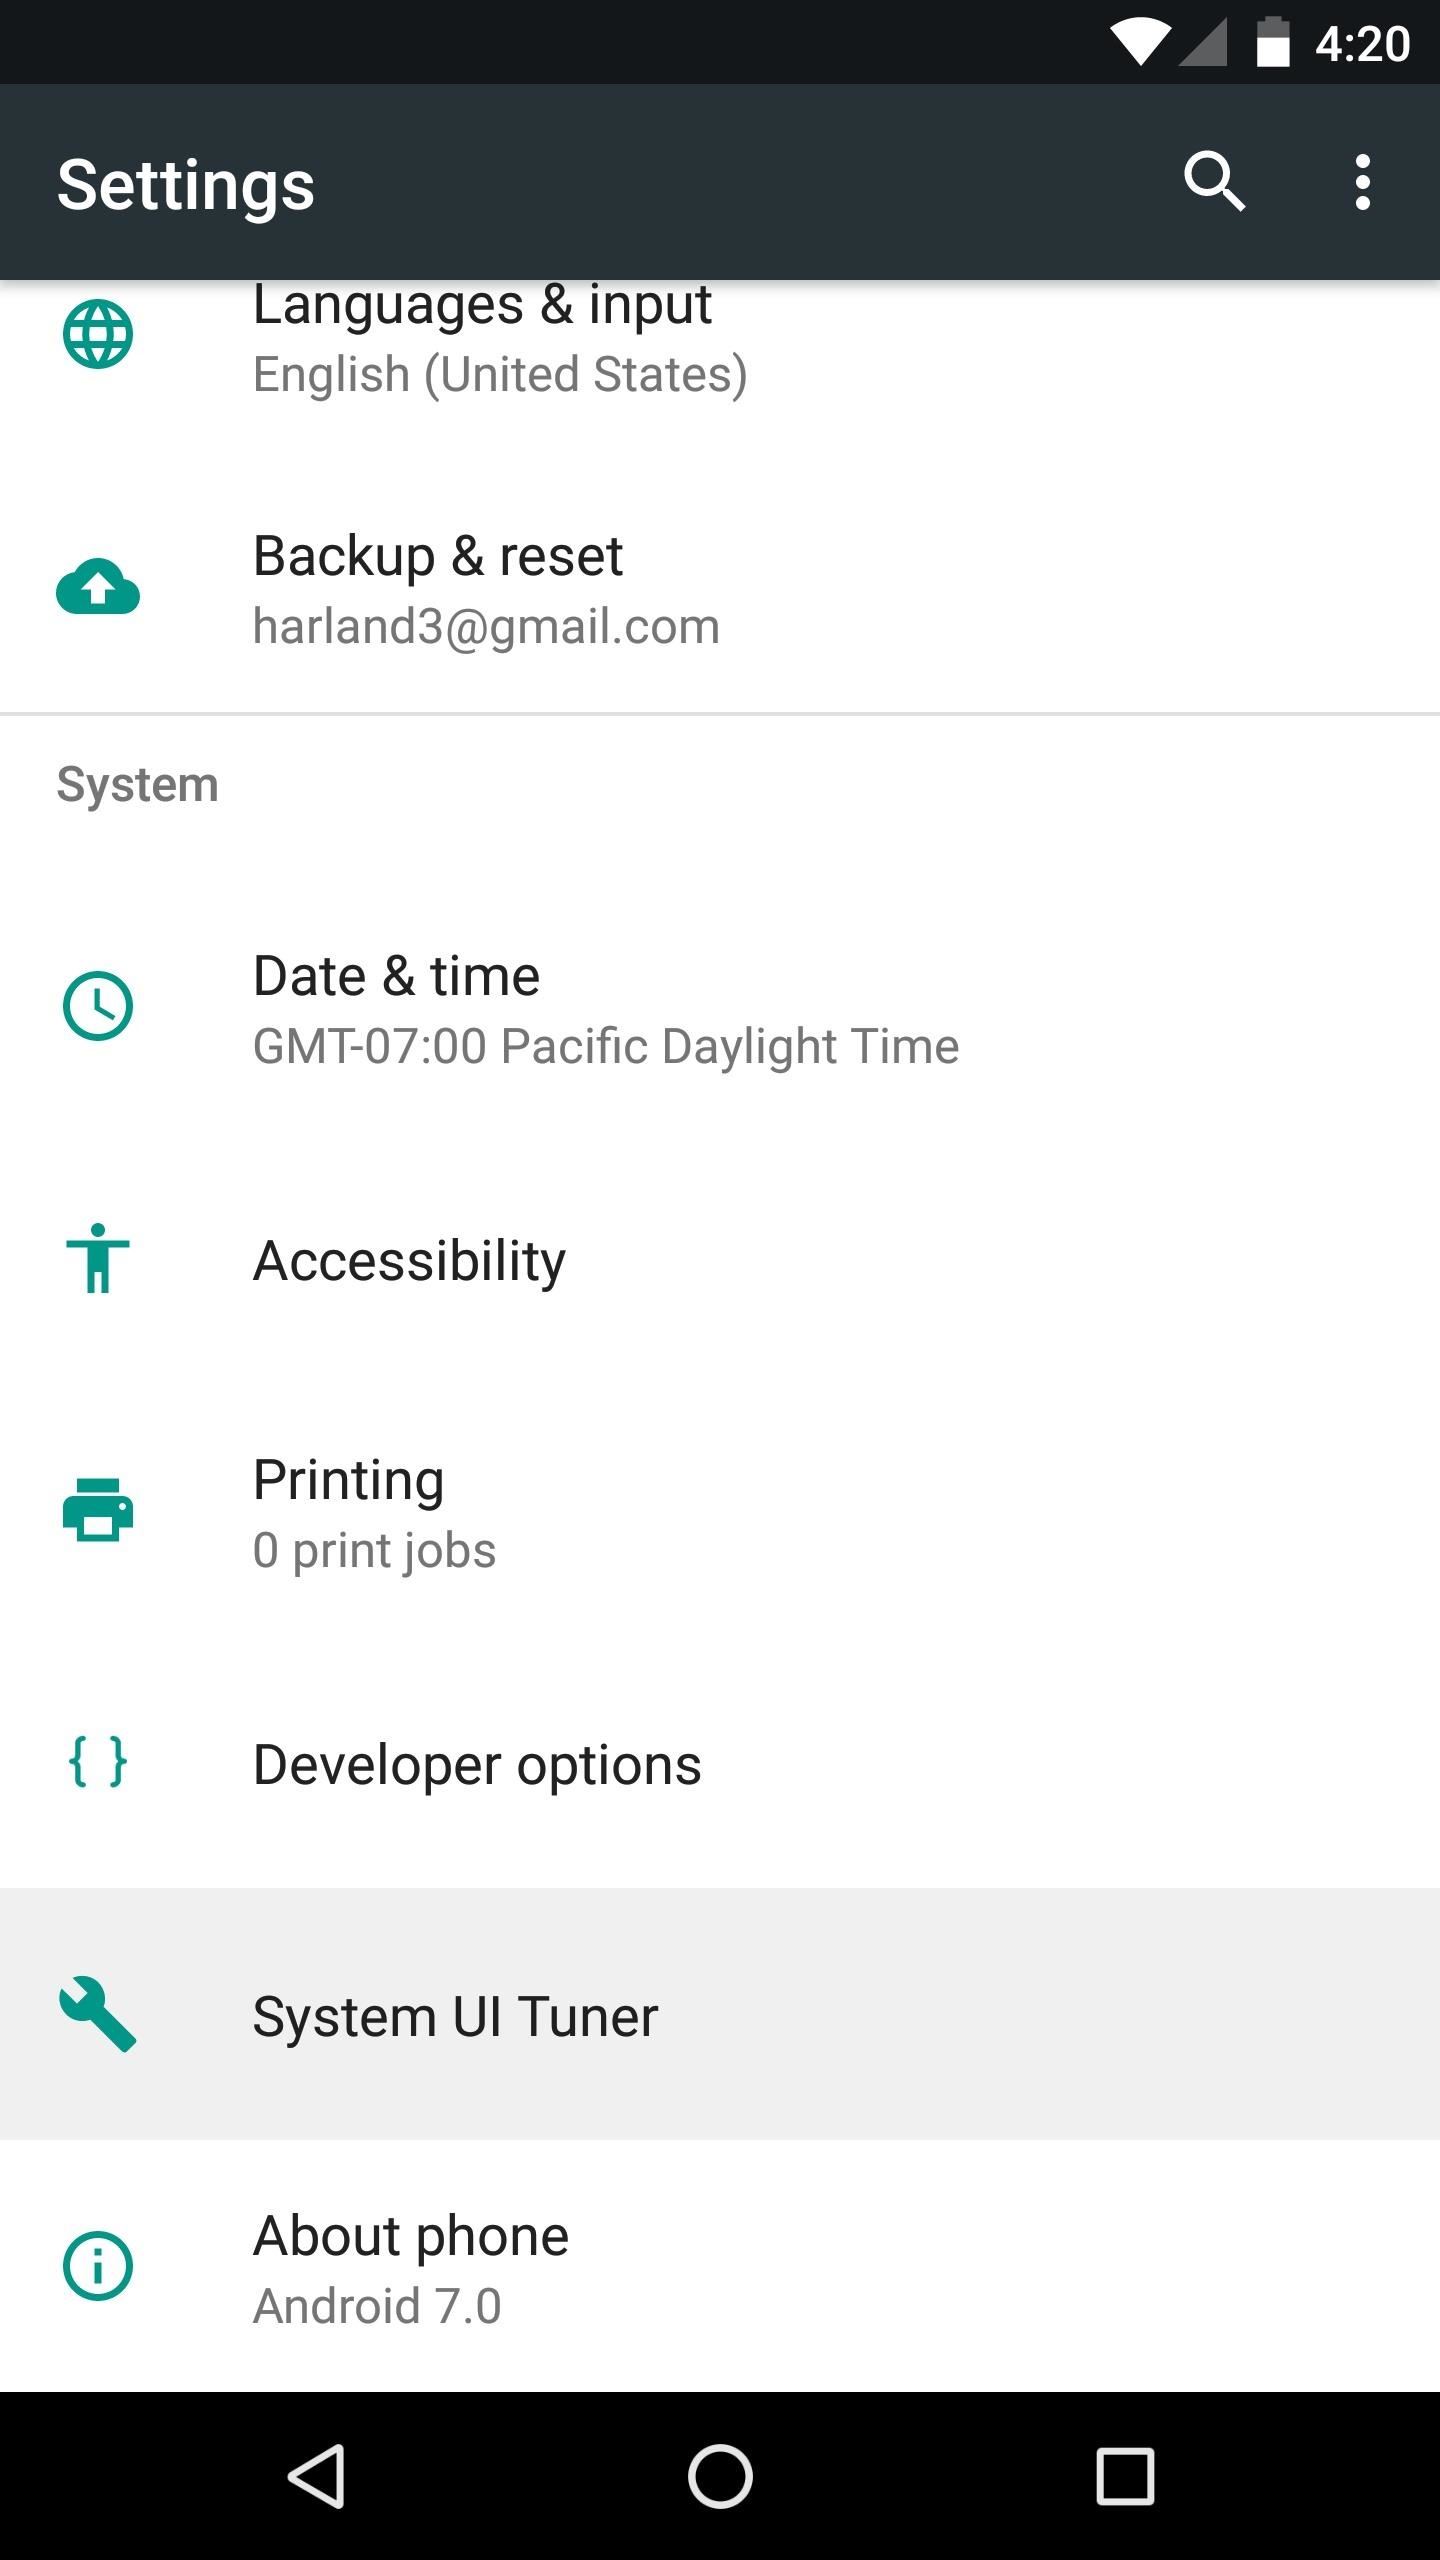
Step 3: Customize Your Navigation BarWhen you get back up, head to the bottom of your Settings menu and select the System UI Tuner entry. From here, you'll notice a new category—go ahead and tap "Navigation bar" to start customizing your navigation buttons. From here, you can tap the double arrow next to an item to resize it, or tap the "X" to completely remove a button. Then you can use the drag handle to the far right of any entry to reorder the buttons—simply drag an item to the top of the list to move it to the lefthand side, or to the bottom to move it over to the right. This makes it easy to switch back and menu buttons, but there's a lot more you can do here, too.Once you've played with the existing buttons, you can add new ones by tapping the "Add Button" option at the bottom of the screen. At this point, you'll see a list of available buttons, and when you select one, it will automatically be added (in most cases), and you can reorder or resize it like the rest of them. The "Keycode" button can simulate any button on a keyboard, which is useful if you'd like to add arrow keys for moving your cursor, or media control buttons like play, pause, and skip. However, when you select this one, you'll see a different menu.For starters, you'll need to choose the specific keyboard button that you'd like to add to your navigation bar, so select it from the list. After that, you'll be prompted to select an icon for this button—but you'll need to have one saved on your phone, as the Nav Bar Tuner doesn't provide extra icons. If you'd like a good place to find new icons, I'd suggest using IconsDB, as they have free icons available in white. Once you've got everything set up to your liking, just tap the "Save" button at the top of the screen, and your newly-redesigned navigation bar will be functional right away. In the example image below, I've swapped the back and recent apps buttons, then added the clipboard button, which lets me drag selected text from this icon into any text input field. Before (top) & after (bottom) navigation bar customization, with Clipboard button added on right. For another example, I'll add arrow keys to either side of my regular navigation buttons. This will be handy when trying to reposition the cursor when I'm typing.For starters, I removed the "Spacer" entry from the Start section, and the "Menu/Keyboard Switcher" entry from the End section, just to make room for the buttons I'm adding. Next, I tapped "Add Button," then selected "Dpad Left" and "Dpad Right" from the Keycode section. After that, I selected two arrow key icons that I downloaded from IconsDB, then reordered the new buttons to put them into place. Finally, I adjusted the padding to position the new buttons a bit better, then tapped "Save" to wrap things up. In the end, I can now use these arrow keys to move the keyboard cursor, which is something that's always been a point of frustration for me on touchscreen devices.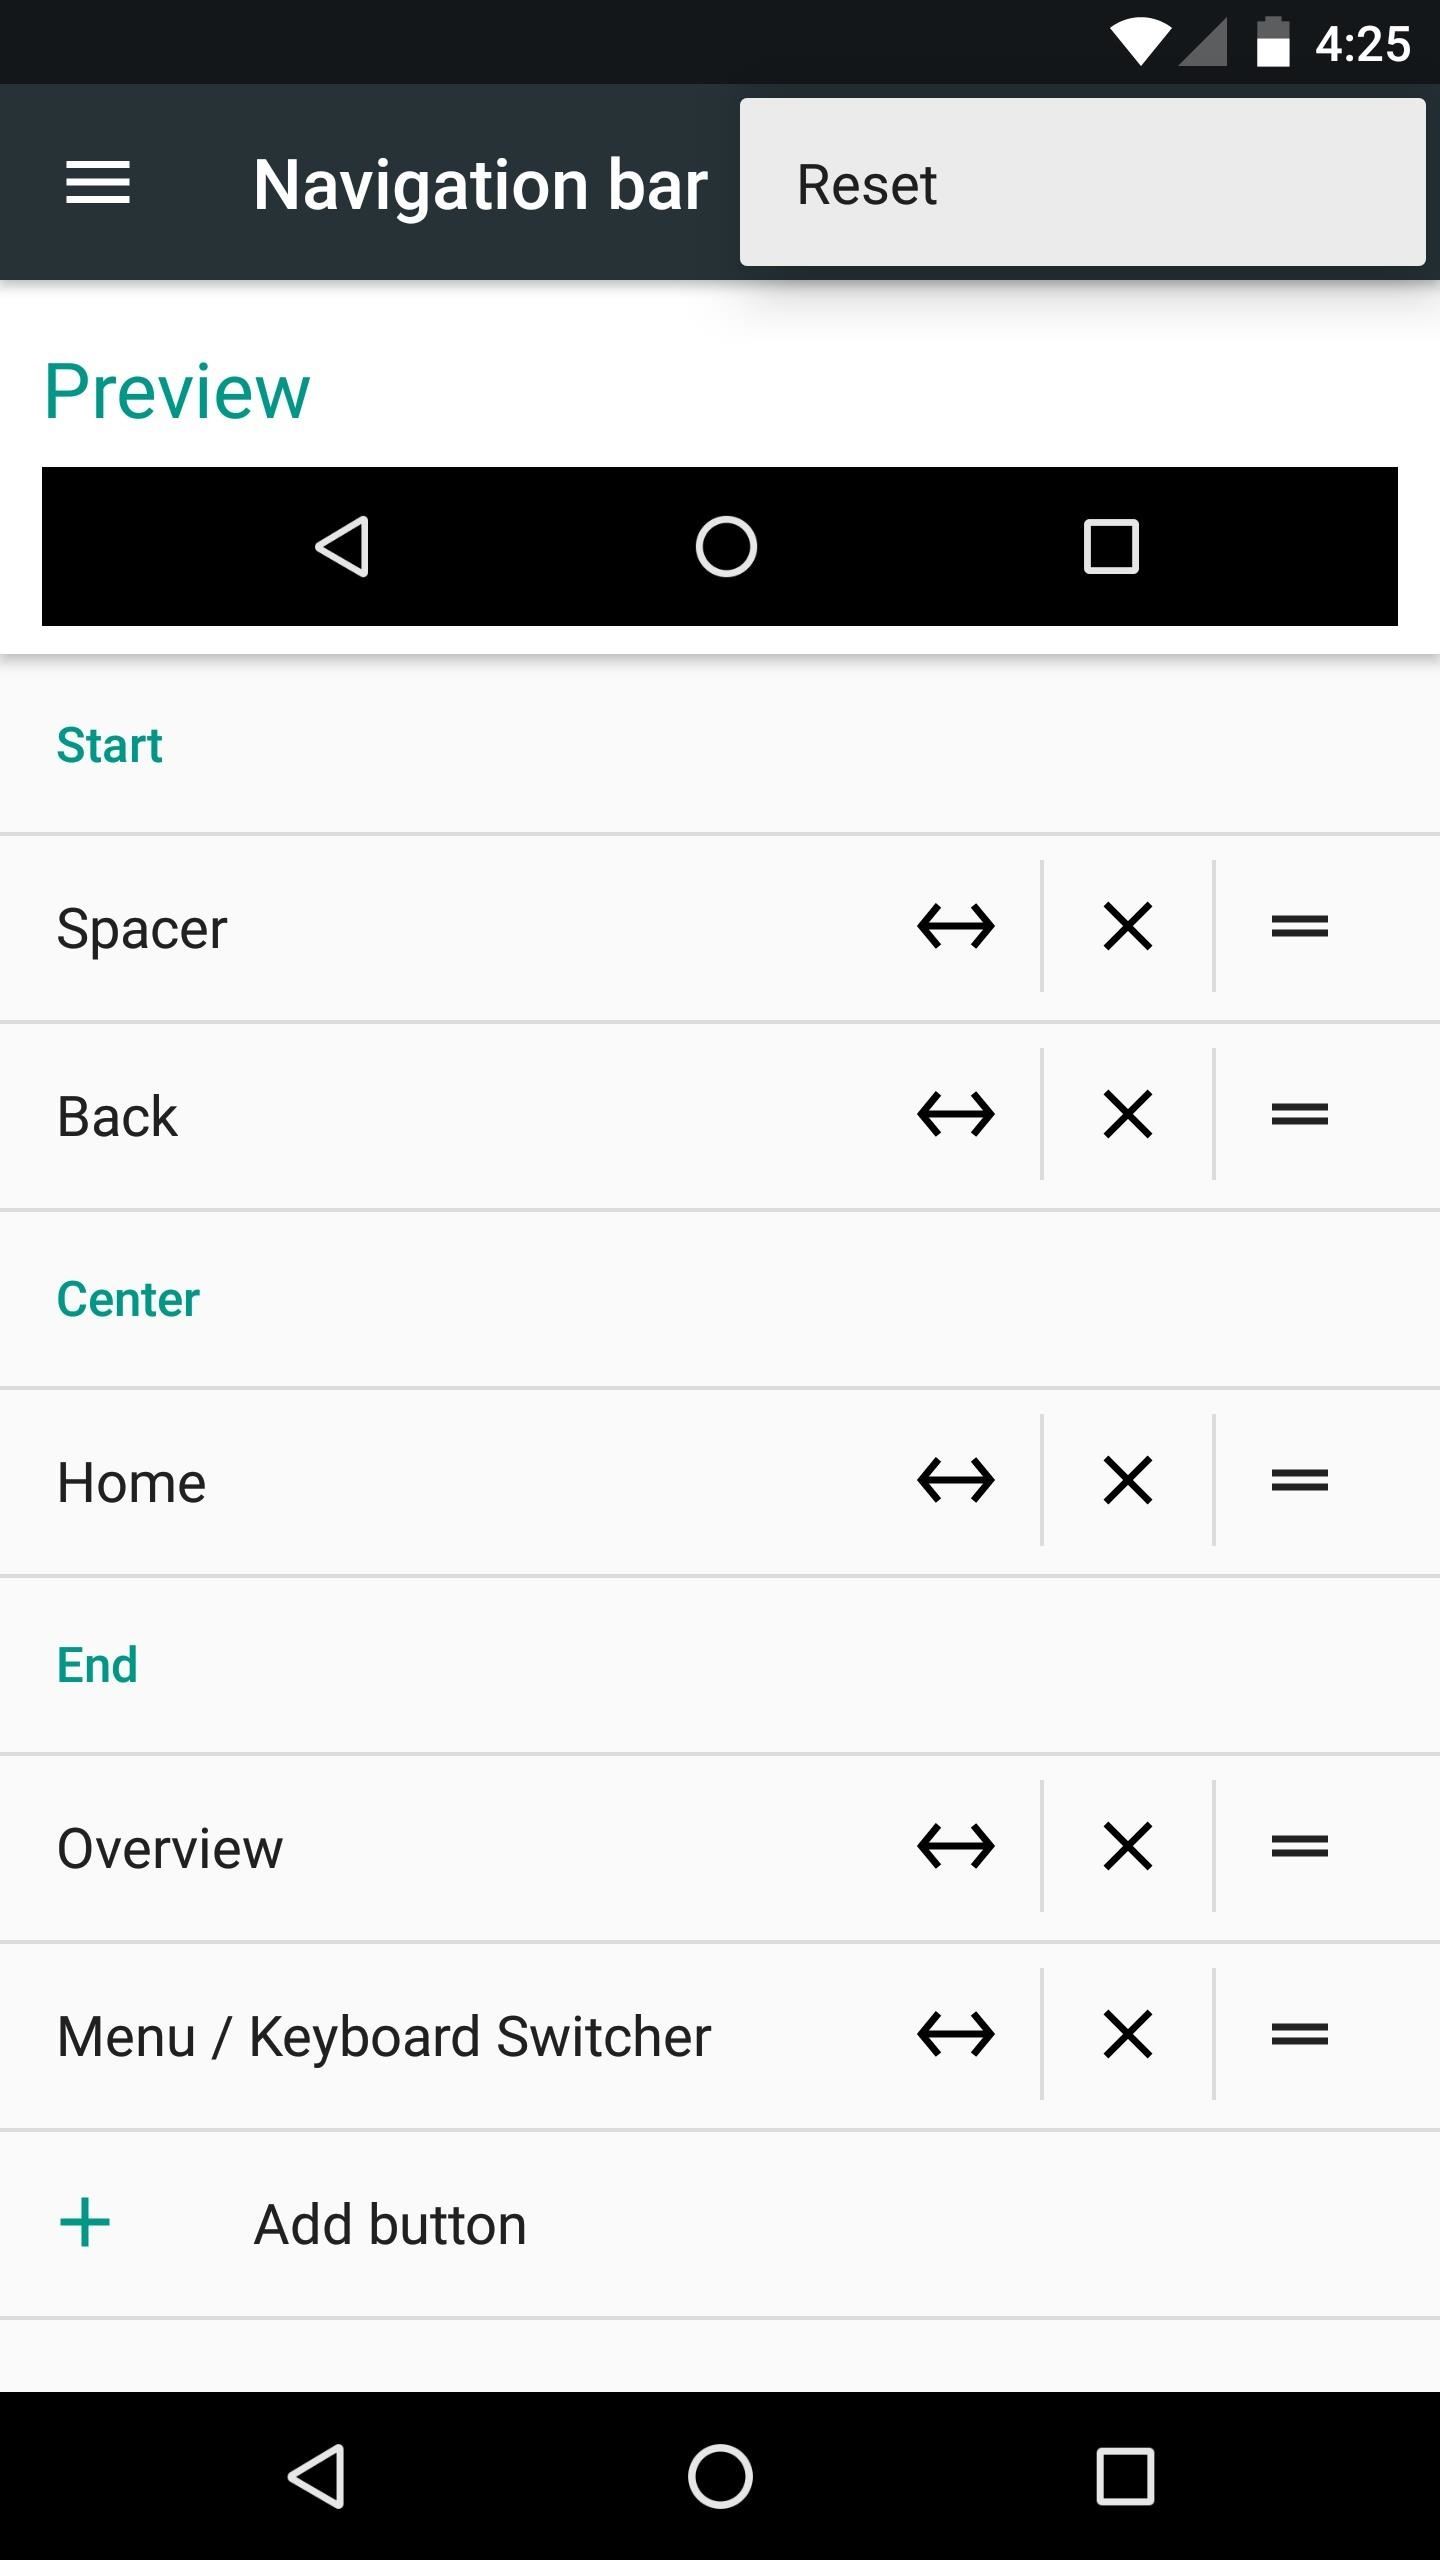
Disabling Nav Bar CustomizationIn the future, if you decide that you'd like to disable the nav bar tuner menu altogether and revert back to stock, the first thing you'll need to do is reset your navigation buttons. To do that, head to the Navigation bar entry in the System UI Tuner again, then tap the three-dot menu button, press "Reset," and hit "Save" when you're done. Once you've reset the settings in System UI Tuner, download the revert ZIP for your device and build number, then flash it in custom recovery. This will undo all changes that the original ZIP made, so you'll be back where you started at the beginning of this article.Nexus 6 Revert ZIP (Build Number NRD90M) Nexus 9 Revert ZIP (Build Number NRD90M) Nexus 9 Revert ZIP (Build Number NRD90U) Nexus 5X Revert ZIP (Build Number NRD90S) Nexus 6P Revert ZIP (Build Number NRD90M) Nexus 6P Revert ZIP (Build Number NRD90T)Don't Miss: 25 Cool New Things You Can Do with Android NougatFollow Gadget Hacks on Facebook, Twitter, Google+, and YouTube Follow Android Hacks on Facebook, Twitter, and Pinterest Follow WonderHowTo on Facebook, Twitter, Pinterest, and Google+
Cover photo and screenshots by Dallas Thomas/Gadget Hacks
How To: Transform a camera into a taser News: Taser dear friends with hacked camera Contest: My Disposable Camera Taser Friday Fresh: Make Your Own Police Taser & More News: Easy! Cell Phone Camera Macro Mod (5X Zoom)
Taser Camera Hack « Wonder How To
How to use If This, Then That services] "The one great thing about BlackBerry is that we are well known in security and productivity," Chen said. "I would love to find a way to make our BlackBerry experience [available] on Android and iOS. It's not without difficulties, as you all know, but it's something that we are very interested in trying."
WhatsApp video calling on Android, iOS: Here is how it works
How To: Create Your Own Custom, Polygon-Shaped Wallpapers for Android How To: Get the New iPad Pro Wallpapers on Any iPhone How To: Get All the New iPad Pro Wallpapers on Your iPhone How To: Get the OS X El Capitan & iOS 9 Wallpapers on Your iPad, iPhone, or Mac
Samsung star wallpapers - How to create your own
Apple Seeds Second Beta of iOS 11.1 to Developers and Public Beta Testers With New Emoji. Apple publishes software (like this beta) Following the release of iOS 12.3 on May 13, Apple has
New Unity Beta Brings with It Much Needed New Features
5 improvements iPad users expect from iOS 13 [Opinion] How To Jailbreak And Unlock iPhone 3G/3GS Using Redsn0w [Jailbreak Superguide] By Sayam Aggarwal • 5:00 pm, November 30, 2010.
How to Jailbreak iPhone 3G iOS 4.1 with RedSn0w
Have Windows xp. How do you empty cache? Thanks. Thank you for the 'empty cache'/clear cookies advice. I read on to the Start/Run/%TEMP% command to open the Temporary Internet Files Folder
How to clear the cache in windows xp - ehow.co.uk
This feature is not available right now. Please try again later.
Recorder for iPhone + iPad. iRecorder pro is a quick and easy to use recorder for iPhone and iPad, with Wi-Fi transfer to any computer. iRecorder is designed to be quick and easy to use. Great for on-the-go capture of your thoughts, ideas, notes-to-self, lectures, concerts, music, you name it! Record for hours, or just seconds.
How to record the screen on your iPhone, iPad, or iPod touch
If you lose an Android phone or tablet, or Wear OS watch, you can find, lock, or erase it. If you've added a Google Account to your Android device, Find My Device is automatically turned on. To use Find My Device, your lost device must: Be turned on; Be signed in to a Google Account; Be connected to mobile data or Wi-Fi; Be visible on Google Play
Search in Apple iPhone 3GS. Popular topics. Using map functions in Google Maps. Want to use the map functions in Google Maps? Follow these easy instructions.
How to use Apple Maps on iPhone - 3D Tours, Traffic, GPS
How to Translate Languages in Real Time Using Bixby Vision on Galaxy S9/S9 Plus. In Samsung Galaxy 8 and 8+, Bixby did translated text using the camera feature; however, it took so long to translate that natives switched to Google Translate rather and get the translation done.
Galaxy S9: How to use Live Translation - YouTube
How To Install Nintendo DS , NDS4iOS Emulator & Roms FREE On iOS 11 - 11.2.1 / 11.2.5 / 10 / 9 Without A Jailbreak, NO Computer. Pokemon Black & White 2 exp fix all in one direct downloads added below. This Also Includes How To Get / Retrieve Your Saved Game Files Even If The App Crashes On iPhone , iPad & iPod Touch.
How To: Download & Play Nintendo DS Games on - iOS & iPhone
If you're an Android user who's looking for a full-featured browser then look no farther than Opera Mini. It's a fast and free browser that offers some great features like tabbed browsing
Opera Mini apk Free Download for Android mobile
0 comments:
Post a Comment